
HOW TO APPLY YOUR GRAPHICS
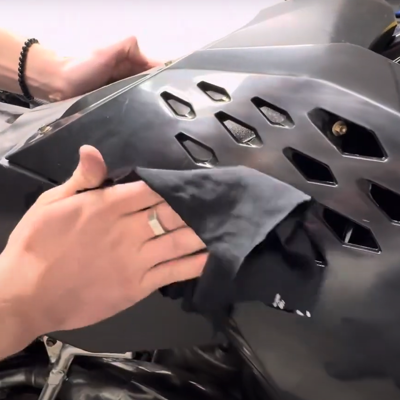
1. Prepare the Surface: Start by cleaning the plastic surface until it has a nearly matte finish. You can use brake cleaner or other alcohol-based solutions like rubbing alcohol (isopropyl alcohol) or a strong solvent. After cleaning, make sure there are no dirt or dust particles, as well as grease spots. It's recommended to use new plastics as old ones may have deep scratches, scars and damage.
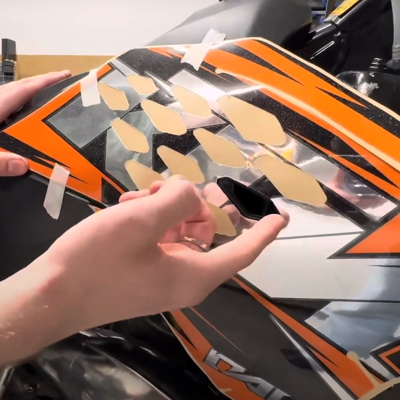
2. Check the Fitment: Before applying the decal, ensure it fits properly by holding it against the plastic and roughly positioning it.
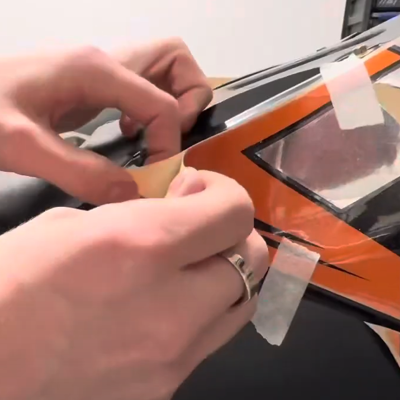
3. Begin Application: Once you've confirmed the fit, peel off a small portion of the backing paper and carefully place the decal onto the surface.
4. Follow Natural Contours: It's crucial to follow the natural contours of the plastic and avoid making unnatural bends in the decal. Start at a reasonable point, preferably where it leads directly into the largest section of the plastic.
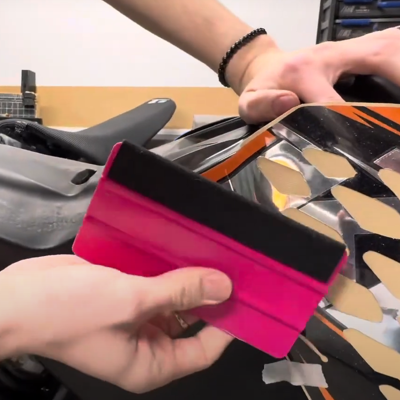
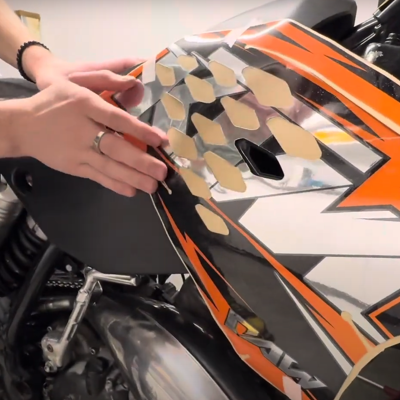
5. Smooth Out Air Bubbles: As you peel off more backing paper, gradually smooth out any air bubbles with your hand or a decal squeegee. To minimize scratches and fingerprints, you can use a silk glove.
Apply the decal with a steady and careful pace, ensuring it adheres smoothly to the surface.

6. Addressing Air Bubbles: If you encounter air bubbles, gently peel back a small portion of the decal and reapply it. However, avoid repeatedly removing and reapplying the decal as it may compromise the adhesive.

7. Apply Heat (Optional): After the decal is applied, you can use a heat gun or hairdryer to slightly warm it up, helping the adhesive bond to the surface. Be cautious not to overheat the decal, especially if it's made of chrome or holographic material, as these are very sensitive to heat and when overheated will turn matte.
Allow Time to Cure: Once the decal is applied, let it sit for approximately 24 hours to ensure proper curing.
